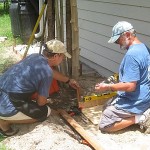
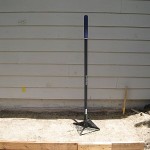
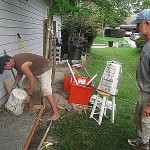
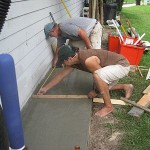
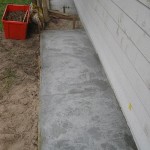
After the planning as to just where the slab will be placed, the form must be made. With the materials of the 1X4 inch boards and a level, one can be assured that the final product will be flat and fairly close to being level. The next step was to spread some loose gravel in the area where the cement was to be placed and tamp it down to form a fairly flat, firm base. Then comes the mixing and pouring of the cement. As there was no wheel barrel available, the cement was mixed in a large pot with the use of a power drill and a hoe. Pouring the cement was no issue as long as it was loose enough (had sufficient water content). After the pour came the smoothing of the top, as a final step a 1/8 th pre-cut piece of wood was wedged into the poured slab. The reason for the piece of wood was to prevent cracking after cured. With the placement of the piece of wood, there was no need to use a concrete circular saw blade to generate a spacing after curing. The 1/8 th piece of wood should eventually rot away.
Welcome to jnlyman.com

This is really interesting, You are a very skilled blogger. I have joined your rss feed and look forward to seeking more of your great post. Also, I have shared your website in my social networks!
Fun is not an appropriate word here. Tiring is bteter. Unless you have the strength of two men, I would rent an electric or gas mixer. The first part will be a bit dried by the time you finish the last part, but screed as you go and in a 10 10 you could nearly finish the first 5-foot (smoothed and crack joint, broom finish and edges), such that it wouldn’t need much if any additional work later in the day. Or try pouring a 5 10 one day and the other half the next. Good luck and Motrin.
I like your video. Their aren’t many diy videos for just poinrug a concrete patio and yours is about the best I’ve found. Very straight forward. I’m going to be making a slab soon of the same size 12 x 6 . I’ve been trying to get all the figures correct so I know what the cost will be. I noticed you said you used 30 80lb sacks. This confused me because most of the concrete calculators I have used say for that size I need to buy 41 80lb bags. Can you explain how you came to just use 30 bags?
The amount of concrete mix required is directly related to the cubic area of the slab. Realize that if the slab is thinner, then the cubic area will be less. Don’t know where you read the number of bags I used but if your calculation of 41 80# bags is required for the 12′ x 6′ x ?” then use that calculation when purchasing. You should always be able to return the excess unopened bags to the place purchased. 41 bags will represent quite a bit of work, so you might want to pace yourself by planning on more than one day. Separate the slab into specific sizes etc. Also, the mix comes in different tinsel strengths so, know what the end purpose of the slab will be and select the proper mixture to support your needs.
I just now wanted to thank you one more time for this aizmang web site you have made here. It can be full of useful tips for those who are definitely interested in that subject, primarily this very post. You’re really all so sweet in addition to thoughtful of others and reading your website posts is a great delight if you ask me. And thats a generous gift! Tom and I are going to have excitement making use of your ideas in what we need to do in a few days. Our record is a mile long which means that your tips will certainly be put to beneficial use.