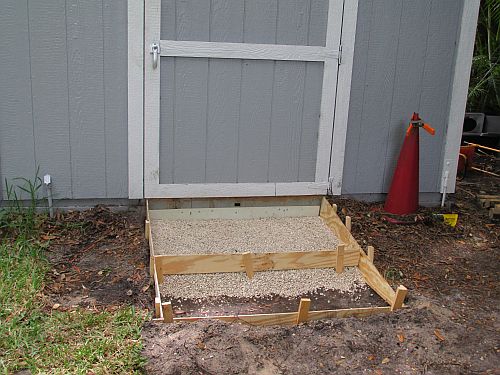
One must always start off with a plan. Once you have a plan, dig out area for desired depth. If however, the ground is already lower than the shed entrance, you just have to calculate how thick a slab you need to handle the weight.
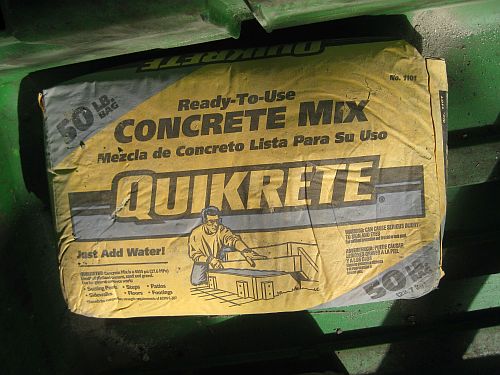
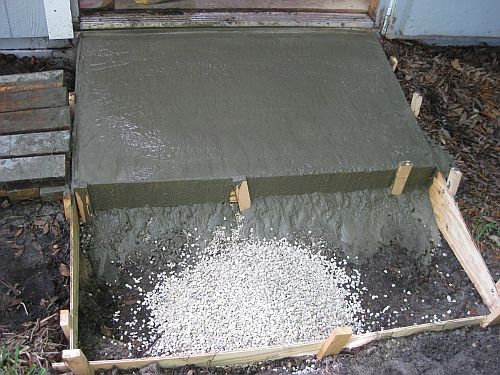
Here you see that I framed in the area using ¼ “ plywood and wooden stakes. I decided to pour the slab in two sections to mainly decrease the work for one day but also to add a separation to the two sections. Then I place some gravel into the top section as the ground was low and I really did not need to have a slab 11” thick. Once the decision was made as to the thickness, it was a matter to simply calculate the cubic ft to determine the amount of concrete mix. Mind you a 50# bag will handle approximately ½ a cubic ft. In this case, I needed 16 bags of mix, 8.5 for the top section and the remainder for the bottom section. Because the slab is on a slant, gravity wants to take over at the thicker point. That is where I had a difficult time at smoothing out. Realize though that one can always use a belt sander with a course sandpaper to smooth out the areas that would not cooperate.
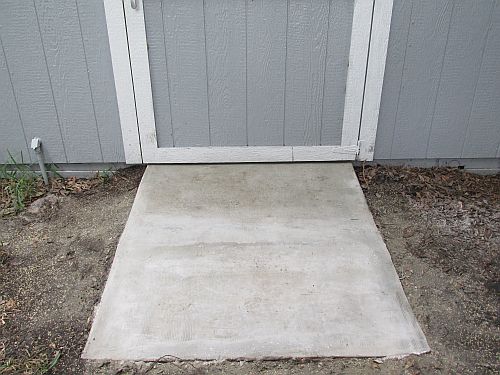
After the cement set for a day, I was able to remove all the framing and fill in the sides with soil. Interesting is the fact that I purchased the concrete mix @ Lowes for under $2.00 / 50# bag. It was on sale. The entire job cost around $40.00 and estimated to be 8 hrs of labor. This cost is under what a wooden entrance ramp would cost as before I decided to make the cement ramp, I had a wooden ramp made out of pressure treated wood I had made about 5 yrs. ago. Even though the wood I originally used was pressure treated, it still showed rot due to moisture. Bottom line, I believe his slab should outlast the shed and I should never have to make another.