Construction of an Oak Wood Table

During Covid19 Pandemic, we stay home and cook more,  now  we need another small table to put the additional cookware.  The radial arm saw was used with to cut dado slots in the legs to hold the bottom shelf.

After drilling pocket holes in the cross members, those pieces were then fastened to the legs.  Clamps were also used to ensure a real tight connection.

Top of the table and shelf is 3/4″ oak plywood. Supporting pieces are solid oak. A number of clamps were also placed around the top to ensure a tight fit as the top is both glued down and has pocket holes with 1 1/4″ screws into the piece of plywood.

Wow. Table was finished with three coats of stain (Colonial Maple) followed by three coats of Tung oil.

Reducing Stool Height From 30″ to 24″

A neighbor wanted to shorten the height of a bar stool from 30″ to 24″ for use in a newly remodeled kitchen.   In order to be able to cut each leg independently  the bar stool had to be completely taken apart.  Measurements and angles were taken followed by the cutting of each leg.

Now the challenge to put bar stools back together.  Wood glue and clamps were used.  This was followed up by adding 1″ Slipstick CB250 floor protectors to each shorten leg.  Results were the 30″ bar stool was shortened to the requested 24″.

Another Project – Dusk To Dawn Lighting Sensor to turn on spot light for US Flag

Another project is to have Dusk to Dawn sensor for lighting US flag after hours as required for a US flag flying 24/7.  Here is how: dig trench, cut & lay PVC, run wire, glue PVC, and make final connections.

The main power source is from the garage outlet.  The dusk to dawn sensor is basically an on/off switch for the power.  From the sensor box, a regular extension cord is used to connect the power to the run of wire to the spot light.  So, basically we have an extension cord / line running from the garage to the spot light through the PVC buried in the trench which is approximately 100′.  In order to eliminate power loss in the line, 12 AWG was used through the PVC.

Making a Compact Working Bench

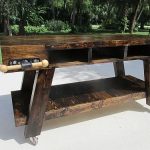
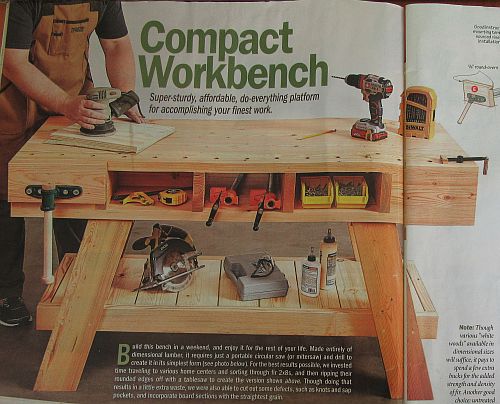
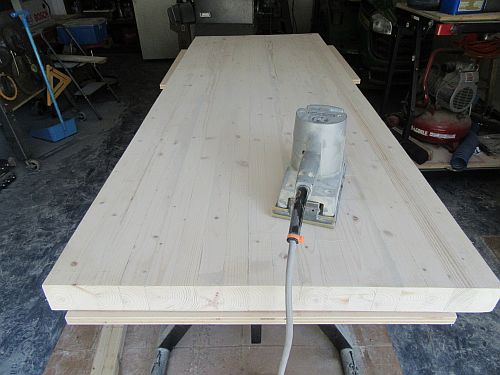
The design and dimension are from Wood Magazine issue 252, March 2018, modified slightly, you guessed it.


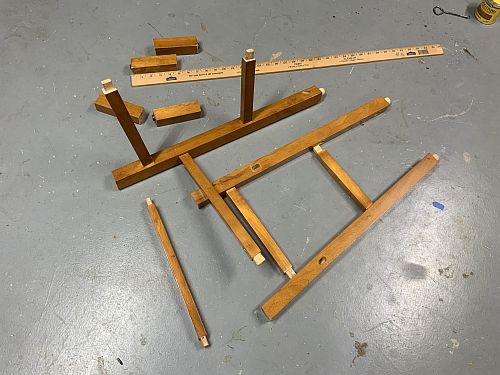
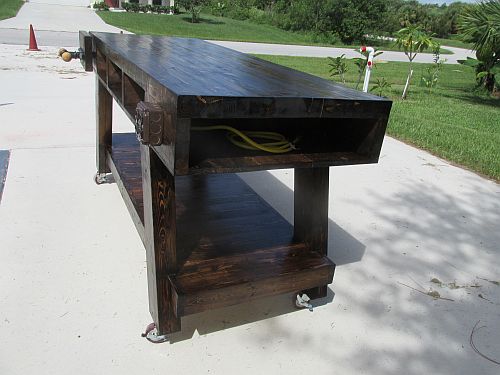
The bench is made from solid wood

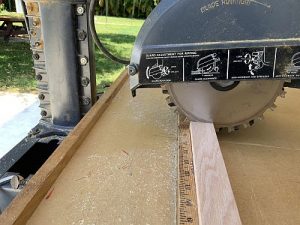
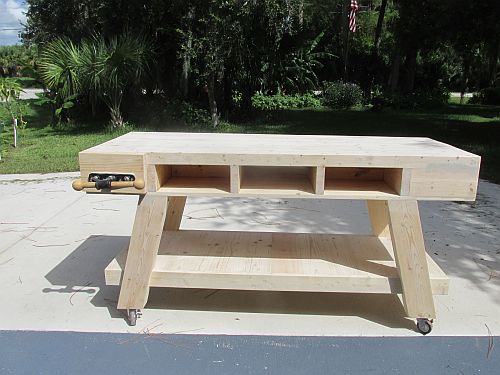
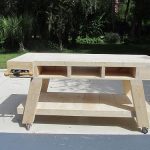
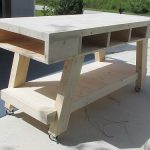
Plans called for 4 each  2”x5 ½”  for both top and lower section.  Obviously, the 2×3 looks like a butcher top and is slightly wider by no less than 5”.  So, the plans call out a wooden type vice on one corner.  Well let me tell you, this was the challenge! I got the holes ok almost exact on the bench  piece.  Then I mounted the base and my challenge began.  I kept thinking after mounting the support base that my holes were off so much that the mechanics of the vice could not handle the slight off.

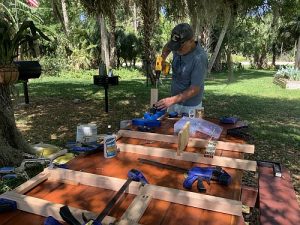
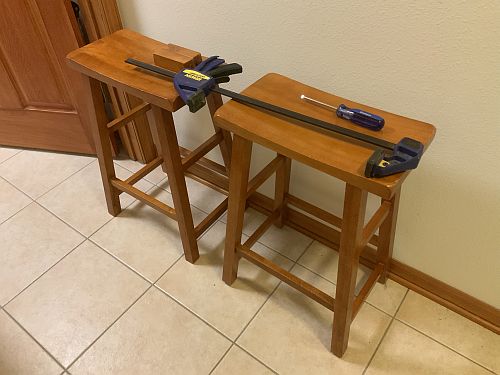
A breakthrough happened after losing a couple of screws on the mounting plate when the vice began to work smoothly.  I then put a couple of washers under the mounting plate and glued down the screws and now it works smooth.  Go figure it was the mounting plate and not my measurements of the locations of the holes that allow the vice to operate.  What a challenge to figure out.

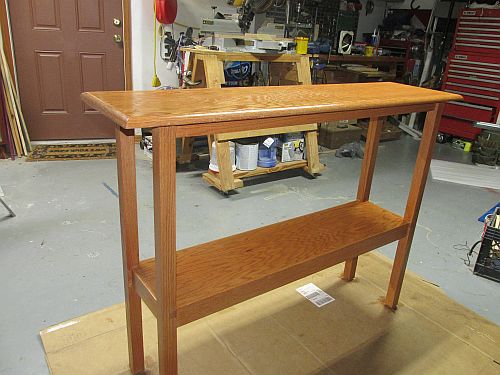
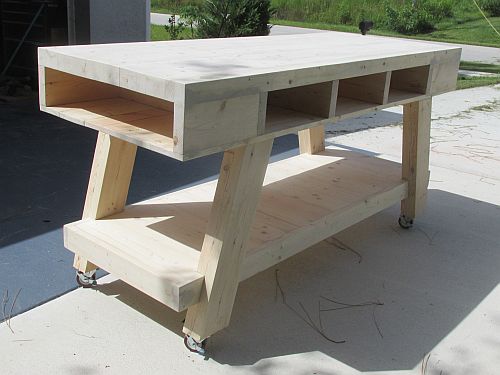
Well,  I finished up the bench areas that are visible.  The total cost is estimated for wood and hardware is around $300.00.  The total time for cutting and putting together is around 3 + weeks. 

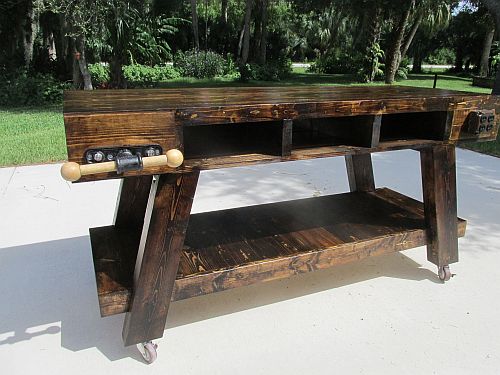
I chose a dark wood stain as it is a workbench.  Then I placed a High Gloss Tung Oil over the stain.  The results seem to be great and using Tung Oil saved a lot of time over putting three coats of varnish over the stain.  No Sanding required and no bubbles.  Also, I was able to use shop towels to spread the Tung Oil so, no brush to clean  up 🙂 !